
How to Remove Oil Stains From Kitchen Cabinets
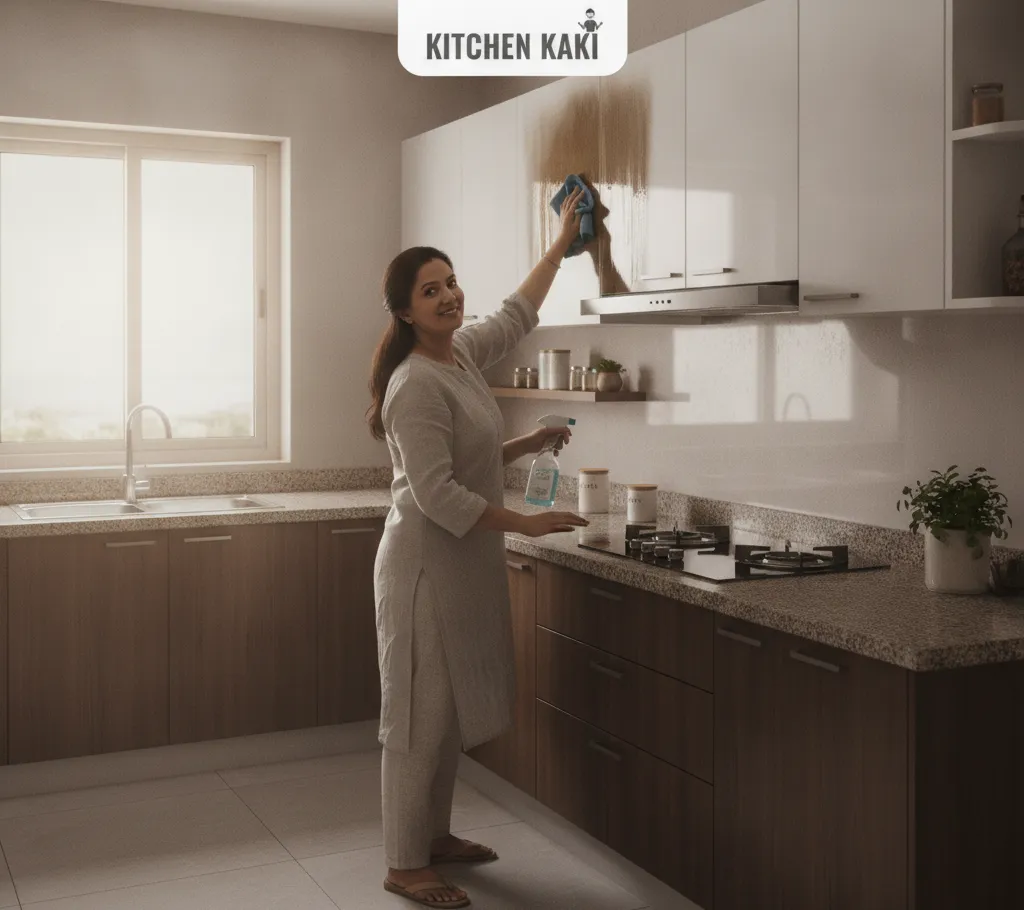
There is a specific cabinet in every Indian kitchen that nobody talks about but everyone knows — the one directly above the hob that comes away slightly tacky when you run a finger across it. A wet cloth doesn't fix it. Dish soap barely touches it. That's because what's on the surface isn't fresh oil — it's polymerised oil, and removing it requires a completely different approach. Here's what actually works, for every cabinet finish type, with products you can find in any Indian supermarket.
How to Remove Oil Stains From Kitchen Cabinets
There is a specific cabinet in every Indian kitchen that nobody talks about but everyone knows.
The one directly above the hob. Or the one immediately to its left or right, depending on the layout. The cabinet that catches the full output of a year of tadkas, of deep-frying sessions, of pressure cooker steam rising with nowhere better to go. The cabinet that, if you run your finger along its surface and the chimney has been underperforming, comes away slightly tacky.
This cabinet is not dirty in the ordinary sense. It has been gradually coated in a film of polymerised cooking oil - oil that has been heated, volatilised, and condensed on the cabinet surface repeatedly until it has chemically changed from a simple oil into something closer to a varnish. It doesn't wipe off with a wet cloth. It resists dish soap. It sits there, slightly sticky, slightly yellow if the shutters are light coloured, attracting dust that bonds to it and makes the whole thing worse.
Cleaning this is not the same as cleaning a fresh oil splash. Fresh oil is easy - any damp cloth removes it in seconds. Polymerised oil requires understanding what it actually is and using something that can break it down chemically rather than just emulsify it.
This guide covers both - fresh oil stains that need to be dealt with promptly, and the older, baked-on, tacky oil residue that requires more deliberate intervention. For every cabinet finish type found in Indian kitchens. With specific products and methods that actually work rather than general advice about "mild cleaners."
Understanding What You're Cleaning
Fresh cooking oil on a cabinet surface is straightforward - it's just oil, and dish soap or any mild degreaser removes it easily.
The problem most people are actually dealing with when they try to clean kitchen cabinets and find it harder than expected is not fresh oil. It's polymerised oil - oil that has been heated, cooled, reheated, and cooled again over many cooking sessions until it has cross-linked chemically and formed a sticky, film-like layer that bonds to the cabinet surface.
This happens fastest and most severely on the cabinet surfaces closest to the hob and in kitchens where the chimney is not performing well - because a well-functioning chimney captures the oil mist before it reaches cabinet surfaces, and an underperforming chimney allows more of it to settle.
The cleaning approach for polymerised oil is different from the approach for fresh oil. Polymerised oil needs to be softened before it can be removed - either by heat, by a chemical agent that breaks the cross-links, or by sustained contact with a degreasing agent long enough to penetrate the film.
Understanding this distinction saves a lot of frustrated scrubbing.
Before Cleaning Anything - Know Your Shutter Finish
The cleaning method that works for one shutter finish can damage another. Before applying anything to a cabinet surface - know what finish you are dealing with.
High-gloss acrylic: The shiniest finish, smooth, reflective. Very sensitive to abrasion and to alcohol. Scratches permanently and loses its gloss if cleaned with anything abrasive. Alcohol-based cleaners dull the surface over time.
Membrane-wrapped / PVC foil: A foil layer pressed and heat-adhered to a board substrate. The surface is relatively robust for cleaning but the edges are vulnerable - aggressive cleaning near edges can lift the foil. Avoid soaking the surface or allowing liquid to sit near edges.
Matte laminate: A paper-based laminate in a matte or textured finish. Reasonably robust. More tolerant of mild cleaning agents than acrylic. Avoid abrasive scrubbers which create visible scratch marks in the matte surface.
High-gloss lacquer: A painted lacquer finish, sometimes with UV curing. Prone to streaking. Alcohol can affect some lacquer finishes - test in an inconspicuous area first.
Thermofoil / suede finish: A textured surface that can trap oil in the texture grooves. Requires a soft brush or cloth to work cleaner into the texture rather than just wiping across the surface.
Solid wood or veneer: Natural wood surface - either solid or a thin veneer over a board substrate. Water can raise the wood grain and damage veneer if used excessively. Cleaning needs to be done with minimal moisture.
With the finish identified - here are the cleaning approaches for different levels of oil build-up.
For Fresh Oil Stains - Remove Immediately
Fresh oil on a cabinet surface comes off easily if addressed immediately. The longer it sits, the more it begins to polymerise and the harder it becomes to remove cleanly.
What works:
A damp cloth with a small amount of liquid dish soap. Apply to the cloth, not directly to the cabinet. Wipe the surface. Rinse with a clean damp cloth. Dry with a dry cloth.
This is genuinely sufficient for fresh oil on every shutter finish type. The mistake is applying the soap directly to the cabinet and then wiping - it's harder to control the moisture and the residue.
For acrylic shutters specifically:
Use a microfibre cloth - nothing rougher. The microfibre picks up the oil film without scratching the surface. A non-abrasive dish soap on the microfibre, applied gently, rinses off cleanly.
The drying step matters:
After any wet cleaning, dry the surface with a clean dry cloth. Water left on cabinet surfaces - particularly near edges - contributes to the very moisture damage that shortens cabinet life. Clean and dry in one sequence.
For Light to Medium Oil Build-Up - A Few Weeks to a Few Months of Accumulation
This is the cabinet surface that feels slightly tacky when touched but doesn't have visible discolouration. A thin polymerised oil film has formed but hasn't accumulated to a thick layer.
Method 1: Dish soap and warm water with extended contact
The key difference from cleaning fresh oil - the cleaner needs contact time to penetrate the polymerised film rather than being wiped off immediately.
Mix liquid dish soap with warm water - approximately two tablespoons of dish soap per half litre of warm water. Dampen a cloth in this mixture, wring it until it is damp rather than wet, and lay it against the cabinet surface for two to three minutes. The warm soapy water softens the polymerised film during the contact time. Then wipe - the residue should come away significantly more easily than it would with a quick wipe. Repeat if needed. Dry the surface.
Method 2: Baking soda paste
Baking soda is a mild alkali that saponifies (breaks down) oil - the same chemistry that makes soap work. It's also very mildly abrasive, which helps mechanically with the film removal.
Mix baking soda with a small amount of water to form a paste - thick enough to stay on a cloth without dripping. Apply to a soft cloth and gently rub the cabinet surface in circular motions. Do not apply significant pressure - let the chemistry do the work rather than the abrasion. Wipe clean with a damp cloth. Dry.
This method is not suitable for acrylic shutters - the mild abrasion of baking soda will create micro-scratches in an acrylic finish over time. Use it on matte laminate and membrane-wrapped shutters only.
Method 3: White vinegar solution
Diluted white vinegar - one part vinegar to two parts water - is a mild acid that cuts through oil film. Apply to a damp cloth, wipe the cabinet surface, allow brief contact time of thirty seconds to one minute, then wipe clean with a fresh damp cloth. Dry.
Vinegar is safe on most shutter finishes but should not be used undiluted. Do not use vinegar on natural wood or veneer finishes - the acidity can raise the wood grain.
For Heavy Oil Build-Up - Months to Years of Accumulation
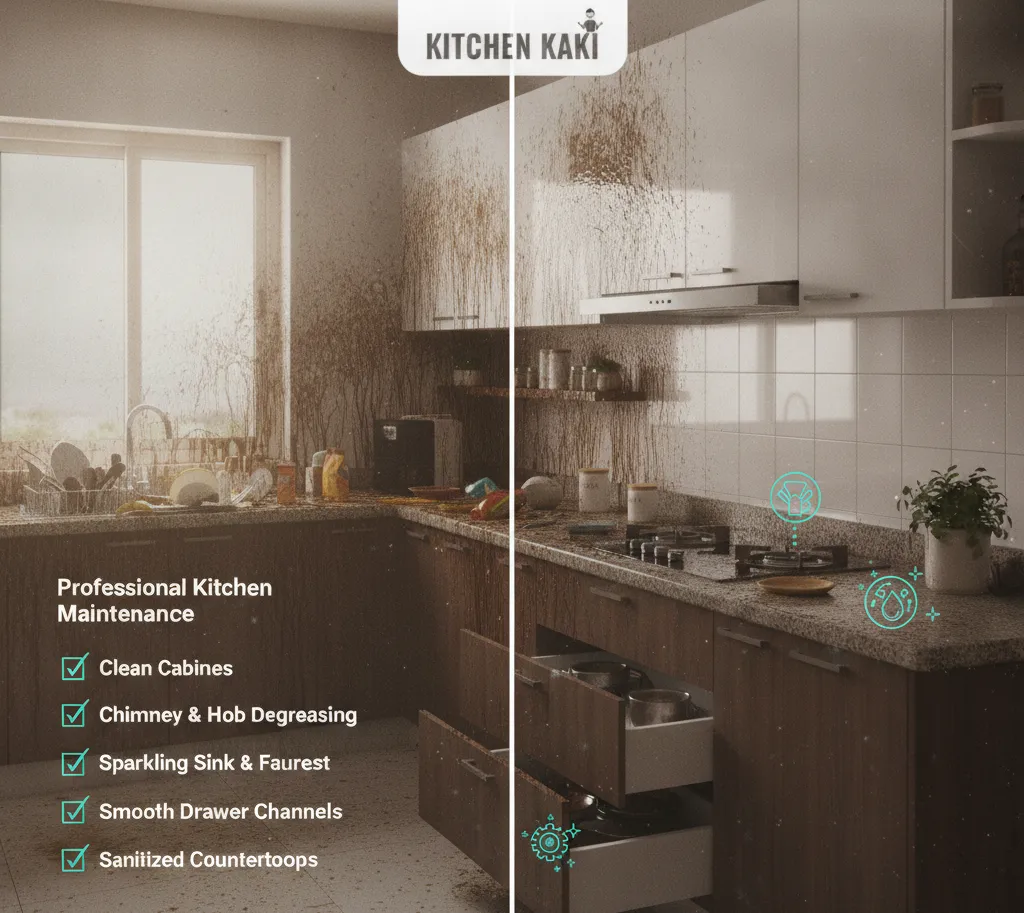
This is the tacky, visible, dust-attracting layer. The cabinet that catches the light and shows the yellow-brown tinge of accumulated polymerised oil. The one that the finger comes away from feeling sticky.
This requires a proper degreaser - not household dish soap. Dish soap is designed to emulsify fresh oil in water. A proper degreaser contains alkaline compounds or surfactants that break down polymerised oil chemically.
Products that work in India:
Colin Multi-Surface Cleaner: Available everywhere, reasonably effective on light to medium polymerised oil. Spray on, leave for two minutes, wipe off. Does not require rinsing. Good for regular maintenance to prevent heavy build-up.
Lizol or Dettol Kitchen Degreaser: More aggressive than general surface cleaners. Spray on, leave for three to five minutes, wipe with a damp cloth, dry. Effective on medium to heavy build-up. Test on a small hidden area first for any sensitive finishes.
Mr. Muscle Kitchen Cleaner: The most commonly available dedicated kitchen degreaser in India. Works well on heavy polymerised oil. Spray, contact time of three to five minutes, wipe and rinse. Effective but can dull some matte finishes with repeated use - test first.
White vinegar at higher concentration: For heavy build-up, a one-to-one vinegar and water solution applied with a cloth and left for five to ten minutes softens the film effectively and without the chemical concerns of commercial degreasers.
The process for heavy build-up:
Apply the degreaser to the surface generously - do not spray directly onto wood or veneer, spray onto a cloth instead and apply from the cloth. Allow contact time of five minutes minimum. The degreaser needs time to penetrate and soften the polymerised layer.
Wipe with a soft cloth in a circular motion - the film should be coming away. For very heavy build-up, the first wipe removes the surface layer and a second application is needed for the layer beneath. Do not scrub hard - heavy pressure with any cleaning product creates uneven removal and can affect the shutter finish.
Wipe clean with a damp cloth to remove the degreaser residue. Dry the surface completely. A degreaser residue left on the surface becomes tacky itself and defeats the purpose.
For the cabinet above the hob where build-up is heaviest - this may require two to three applications and fifteen to twenty minutes of total work. It is worth doing properly once rather than quickly leaving residue that makes the surface worse.
For Each Specific Finish - The Method That Works and the One to Avoid
Acrylic high-gloss shutters:
Works: microfibre cloth with dish soap and warm water, diluted white vinegar on a soft cloth, Colin Multi-Surface Cleaner applied to a cloth not sprayed directly.
Avoid: baking soda (scratches surface), abrasive sponges, alcohol-based cleaners (dull the finish), concentrated commercial degreasers applied directly.
For stubborn marks on acrylic - a dedicated acrylic polish or scratch remover applied with a microfibre cloth in circular motions removes the mark and restores the surface sheen simultaneously. Available at automotive supply shops - acrylic polish designed for car headlights works on kitchen acrylic shutters.
Membrane-wrapped / PVC foil shutters:
Works: damp cloth with dish soap, baking soda paste applied gently, diluted vinegar, Colin or Mr. Muscle applied to cloth.
Avoid: excessive moisture near edges (lifts the foil), abrasive scrubbers, heat application near edges (loosens adhesion).
Matte laminate shutters:
Works: all of the above methods. Matte laminate is the most tolerant finish for cleaning. Baking soda paste, commercial degreasers, vinegar - all acceptable with normal care.
Avoid: abrasive scrubbers (create permanent visible scratches in the matte texture), excessive water that soaks into edges.
For textured matte finishes specifically - use a soft toothbrush or a paintbrush to work the cleaner into the texture grooves before wiping off. A cloth wiped across a textured surface skips the grooves where oil accumulates.
High-gloss lacquer shutters:
Works: damp microfibre cloth with dish soap, diluted vinegar, Colin applied to cloth.
Avoid: alcohol-based products (test first - some lacquers react), abrasive pads, spraying directly onto the surface.
Lacquer shutters streak visibly if cleaned incorrectly. Wipe in one direction - not circular motions - and follow with a dry microfibre to remove streaks.
Solid wood and veneer shutters:
Works: barely damp cloth with a small amount of wood-safe cleaner or mild dish soap. Immediately dry after any wet cleaning.
Avoid: excessive water, vinegar (acidic, can raise wood grain over time), strong chemical degreasers, abrasive anything.
For wood shutters, a dedicated wood cleaner - Murphy Oil Soap or equivalent - is safer than general kitchen degreasers. Apply sparingly, wipe off completely, dry immediately.
For veneer shutters specifically - minimal moisture is essential. Veneer is a thin layer of real wood adhered to a board substrate. Water that penetrates the surface causes the veneer to bubble and lift - a damage that cannot be repaired without replacing the shutter.
The Area Above the Hob - The Worst Zone
The cabinet or wall surface directly above the hob deserves special mention because this zone accumulates oil at a rate faster than anywhere else in the kitchen and is often neglected because it's slightly above comfortable eye level.
If you haven't cleaned this area in more than two or three months and you cook Indian food daily - expect heavy polymerised oil build-up. This zone should be cleaned monthly regardless of whether it looks dirty, because the build-up is invisible until it becomes significant.
For this zone: a commercial kitchen degreaser applied to a cloth, held against the surface for five minutes, then wiped off with a clean cloth. Repeat until the cloth comes away clean rather than yellow-brown. A final wipe with a clean damp cloth to remove degreaser residue. Dry.
If the chimney directly above this area is underperforming - being cleaned irregularly, running at a lower speed than the cooking requires - the oil accumulation on these cabinet surfaces accelerates significantly. Fixing the chimney maintenance is the most effective long-term solution to the above-hob cabinet problem. Cleaning the cabinet without fixing the chimney is cleaning faster than the problem is being created.
The Handles and Hardware
Cabinet handles accumulate oil and grime at the point of contact - where fingers grip - faster than any other surface because every time the cabinet is opened during or after cooking, hands that have been near oil transfer residue to the handle.
For metal handles - brass, chrome, stainless - a cloth damp with diluted vinegar or with a mild metal cleaner removes accumulated grime effectively. An old toothbrush for any handle with grooves or ridges where build-up collects.
For integrated handle profiles (J-pull edge or handleless cabinets) - the groove or edge where the hand contacts the cabinet needs specific attention with a small brush. This is where oil accumulates in these designs and a flat cloth wipe misses it entirely.
Hinge surfaces and the area immediately around hinges - these small areas are easy to miss and accumulate both oil and dust. A cotton swab with a small amount of cleaner on the hinge plate and in the gap between the hinge and the door surface. Takes one minute per hinge and makes a visible difference to the overall cleanliness impression of the kitchen.
Prevention Is Significantly Easier Than Removal
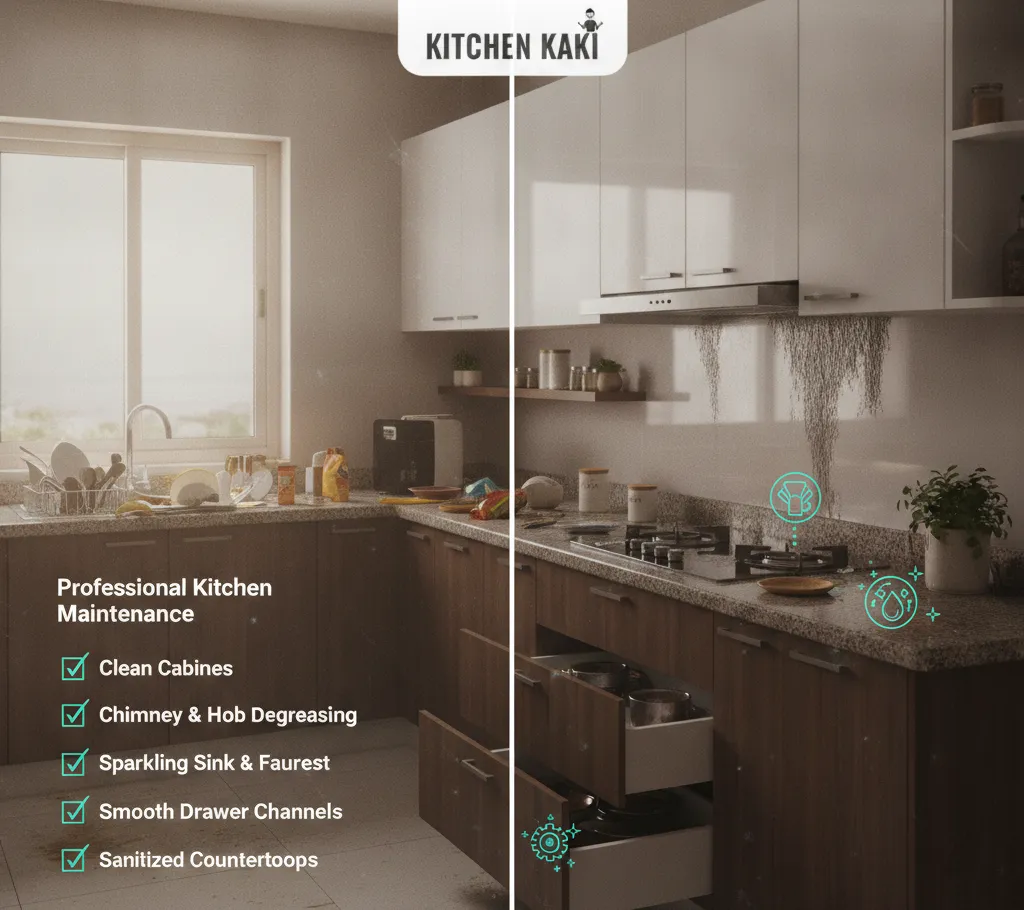
Everything in this article addresses oil that has already accumulated. The more effective approach is preventing the accumulation in the first place - not because cleaning is impossible, but because heavy polymerised oil build-up is genuinely laborious to remove fully and some of it, on certain finishes, leaves a residue that no cleaning fully restores.
Chimney at the right capacity and cleaned regularly: A functioning chimney at adequate suction capacity captures the oil mist at the source. Cabinet surfaces in a kitchen with a well-maintained, properly sized chimney accumulate oil at a fraction of the rate they do in kitchens where the chimney is undersized or poorly maintained.
A weekly shutter wipe: Five minutes with a damp microfibre cloth across all cabinet surfaces - particularly above and around the hob - removes the thin invisible film of oil mist before it has time to polymerise. Weekly prevention prevents monthly intervention.
Closing cabinet doors during cooking: The cabinet directly above or adjacent to the hob accumulates significantly less oil if the door is closed during cooking rather than left open. It sounds obvious. In a busy kitchen during cooking it doesn't always happen. The habit is worth forming.
The One Thing Worth Saying at the End
Oil stains on kitchen cabinets are not a cleaning failure. They are the evidence of a kitchen being used for what a kitchen is for - cooking real food for real people. The cabinet that has never accumulated any oil residue is the cabinet in a kitchen that isn't being cooked in.
The goal is not a kitchen that shows no evidence of cooking. It is a kitchen that is cleaned regularly enough that the accumulation never gets ahead of the maintenance - where the weekly wipe keeps pace with the weekly cooking, and the occasional deeper clean catches whatever the weekly routine misses.
That kitchen, cooked in daily, shows its use. It just doesn't show neglect.
More honest kitchen care and maintenance guides for Indian homes at Kitchen Kaki.
